Topics -> gatsby, js, webdevelopment
Preview Link -> Portfolio With Gatsby
Source Code Link -> GitHub
What we are going to develop?
- Initializing a Gatsby project
- Loading data from JSON file
- Building components
- Configuring the Meta tags using gatsby-helmet
- Querying the loaded data
Before moving ahead, we must aware of some concepts
Some Important Concepts
What is Gatsby?
Gatsby is an open-source static website generator (SSG) that is based on the frontend development framework React and makes use of Webpack and GraphQL technology. It can be used to build static sites that are progressive web apps, follow the latest web standards, and optimized for speed and security.
What is GraphQL?
GraphQL is a query language for APIs and a runtime for fulfilling those queries with your existing data. GraphQL provides a complete and understandable description of the data in your API, gives clients the power to ask for exactly what they need and nothing more, makes it easier to evolve APIs over time, and enables powerful developer tools.
Step 1 -> Initializing a Gatsby project
We will start a GraphQL project then start working on it. It's a easy process.
First install the Gatsby Cli by following command : -
npm install -g gatsby-cli
Then
gatsby new
For more info, Checkout Gatsby official website
Step 2 -> Loading data from JSON file
We will be using the gatsby-json-transformer for loading data.
Install the library by following command
npm install gatsby-transformer-json
Configuring the gatsby config to load the data from particular file
Open the gatsby configuration file (gatsby_config.js)
module.exports = {
  /* Your site config here */
  siteMetadata: {
    title: `Praveen Chaudhary`,
    description: `This is the portfolio of Praveen Chaudhary. It contains all the Projects with video links`,
    author: `@chaudharypraveen98`,
  },
  plugins: [
    ....
    {
      resolve: `gatsby-source-filesystem`,
      options: {
        name: `ProjectData`,
        path: `${__dirname}/src/data`, // wherever background images are stored
      },
    },
    ....
  ]
}
Steps 3 -> Building components
Layout component
This will initialize the basic structure of website.
import Navbar from "../Components/Navbar";
import React from "react";
import "../styles/global.css";
import DefaultHelmet from './DefaultHelmet';
const Layout = ({ children }) => {
    return (
        <>
        <DefaultHelmet />
        <Navbar />
        <div className="container">
            <main className="main">{children}</main>
        </div>
        <div className="footerContainer">Copyrights 2021 @BinaryBeast</div>
        </>
    );
    };

    export default Layout;
It is using two more component Navbar and DefaultHeader Component.
Navbar Component
It will contain the basic styling of the Navbar.
import { Link } from "gatsby"
import styles from "../styles/Navbar.module.css"
import React from "react"

// gatsby uses the link to instead of link href
const Navbar = () => {
  return (
    <nav className={styles.navbarContainer}>
      <ul className={styles.navUl}>
        <li className={styles.navBrand}>
          <Link to="/">Praveen Chaudhary</Link>
        </li>
        <li>
          <Link to="/">Home</Link>
        </li>
        <li>
          <Link to="/contact">Contact</Link>
        </li>
      </ul>
    </nav>
  )
}

export default Navbar;
Project List Component
It contains all the projects mentioned. This component will take all the projects and shows a certain number of post initially.
import React, { useEffect, useState } from "react"
import Project from "./Project"
import styles from "../styles/Project.module.css"
// use this to control the number of projects to be displayed
const postsPerPage = 6

// never use export default with arrow function in gatsby directly
const ProjectList = ({ projects }) => {

  // using react hook to manage the state
  const [postsToShow, setPostsToShow] = useState([])
  const [next, setNext] = useState(3)
  const posts = projects

  const loopWithSlice = (start, end) => {
    const slicedPosts = posts.slice(start, end)
    setPostsToShow([...slicedPosts])
  }

  useEffect(() => {
    loopWithSlice(0, postsPerPage)
  }, [])

  const handleShowMorePosts = () => {
    loopWithSlice(next, next + postsPerPage)
    setNext(next + postsPerPage)
  }
  return (
    <div className={styles.projectSection}>
      <div className={styles.ProjectContainer}>
        {postsToShow.map(project => {
          // always add key else it will raise error
          return <Project project={project} key={project.node.id} />
        })}
      </div>
      <div className={styles.buttonContainer}>
        <button onClick={handleShowMorePosts} className={styles.loadMoreButton}>
          Load more
        </button>
      </div>
    </div>
  )
}

export default ProjectList
We have used the useState hook to manage the number of projects displayed on the website
Project Component
It contains the simple glassmorphism design to make it attractive.
import React from "react"
import styles from "../styles/Project.module.css"

const Project = ({project}) => (
    <div className={styles.singleProject}>
        <h1 className={styles.singleProjectTitle}>{project.node.title.split(/(?=[A-Z])/)}</h1>
        <p>{project.node.desc}</p>
        <p className={styles.projectNumber}>{project.node.id}</p>
        <h4 className={styles.projectDesc}>{project.node.programming_language}</h4>
    </div>
)

export default Project
Configuring the Meta tags using gatsby-helmet
First install the gatsby-plugin-react-helmet
Open the gatsby_config.js file and make the below changes.
module.exports = {
    /* Your site config here */
    siteMetadata: {
        title: `Praveen Chaudhary`,
        description: `This is the portfolio of Praveen Chaudhary. It contains all the Projects with video links`,
        author: `@chaudharypraveen98`,
    },
    plugins: [
        'gatsby-plugin-react-helmet',
        {
        resolve: `gatsby-source-filesystem`,
        options: {
            name: `ProjectData`,
            path: `${__dirname}/src/data`, // wherever background images are stored
        },
        },
        .... // Some More libraries used later
        `gatsby-transformer-json`,
    ]
    }
Querying the loaded data
Open the DefaultHeader Component discussed above and write our first query.
import React from "react"
import { Helmet } from "react-helmet"
import { useStaticQuery, graphql } from "gatsby"

// first test graphql queries in playground at https://127.0.0.1:8000/___graphql
const DefaultHelmet = ({ title, description, author }) => {
  // staticQuery is now depreciated
  const { site } = useStaticQuery(
    graphql`
      query {
        site {
          siteMetadata {
            title
            description
            author
          }
        }
      }
    `
  );

  return (
    <Helmet>
      <title>{title || site.siteMetadata.title}</title>
      <meta
        name="description"
        content={description || site.siteMetadata.description}
      />
    </Helmet>
  )
}

DefaultHelmet.defaultProps = {
  title: "Praveen Chaudhary",
  keywords: "Praveen Chaudhary, chaudharypraveen98",
  description: "Portfolio. Contains all projects of Praveen Chaudhary",
}

export default DefaultHelmet
We have the GraphQL to extract only the required information. It saves a lot of time as we fetch only a filtered part.
There some other libraries used for displaying image. You can get to know the libraries by looking at the package.json file
Deployment
You can only deploy on Gatsby Cloud or build a static site and deploy on github pages..
Web Preview / Output
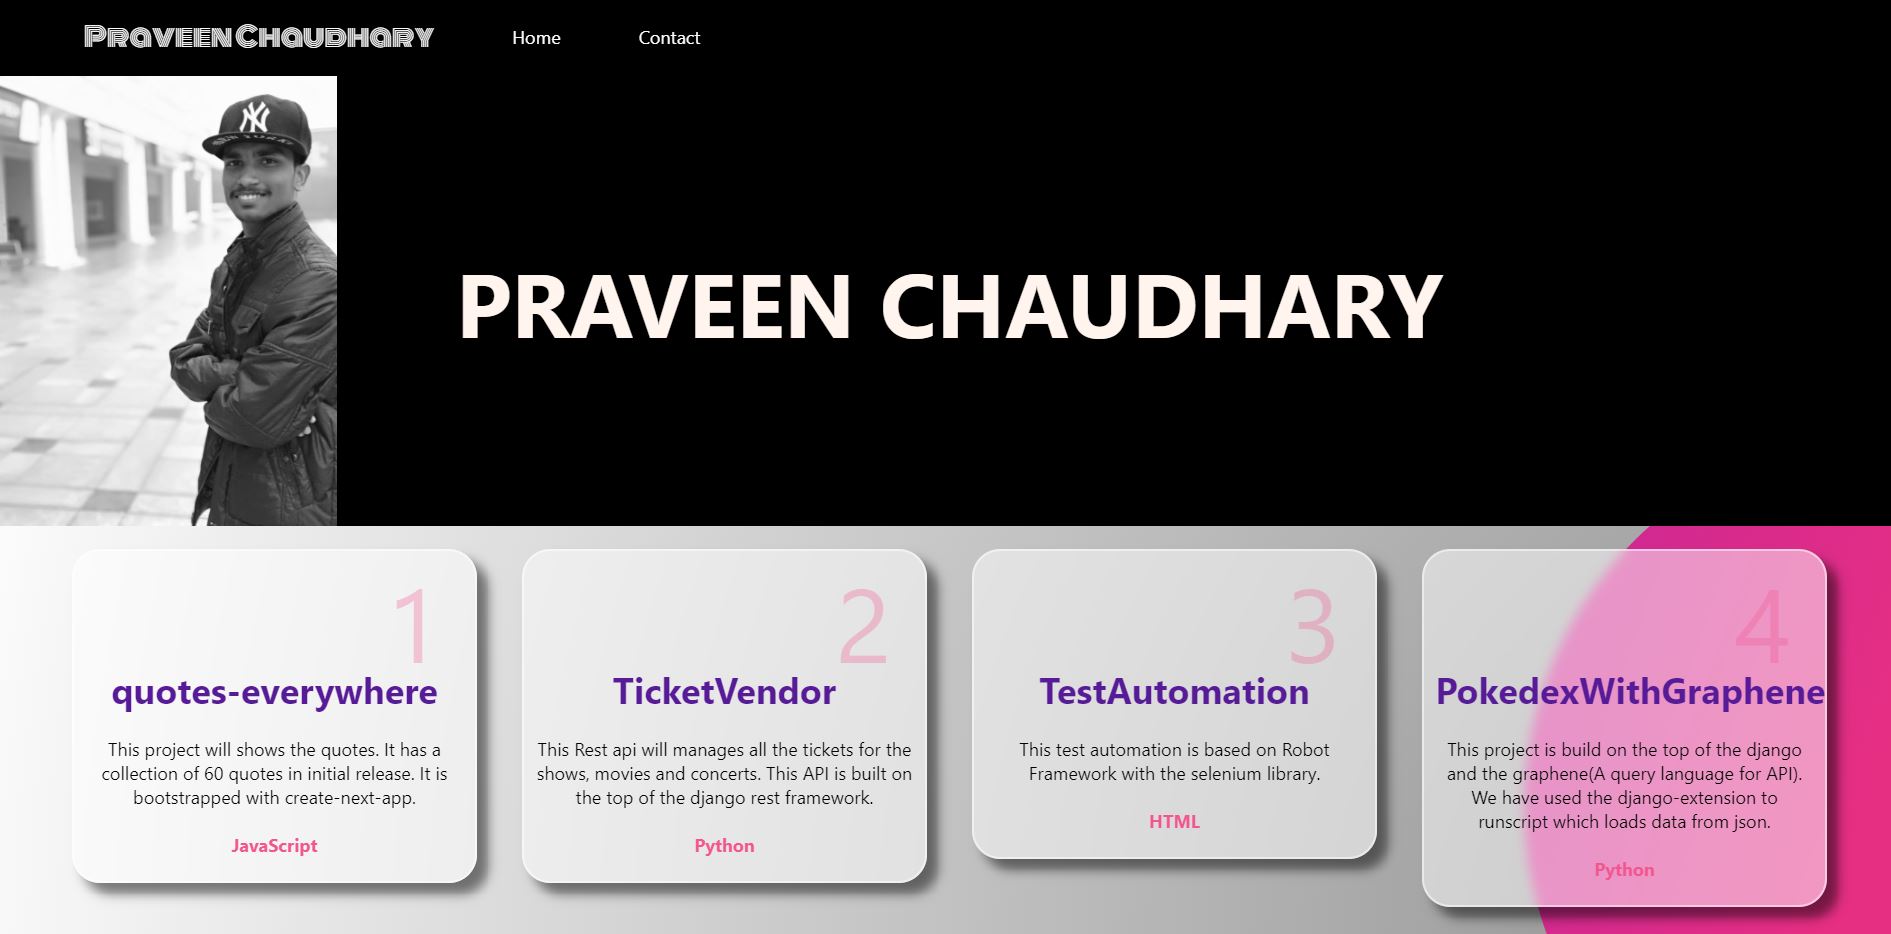 Web preview on deployment
Placeholder text by Praveen Chaudhary · Images by Binary Beast